So now, to planting.
 We’re up to the fun part, mamas! Hurrah!
I’ll begin by describing the process of planting in pots, then talk about buying and planting seedlings.
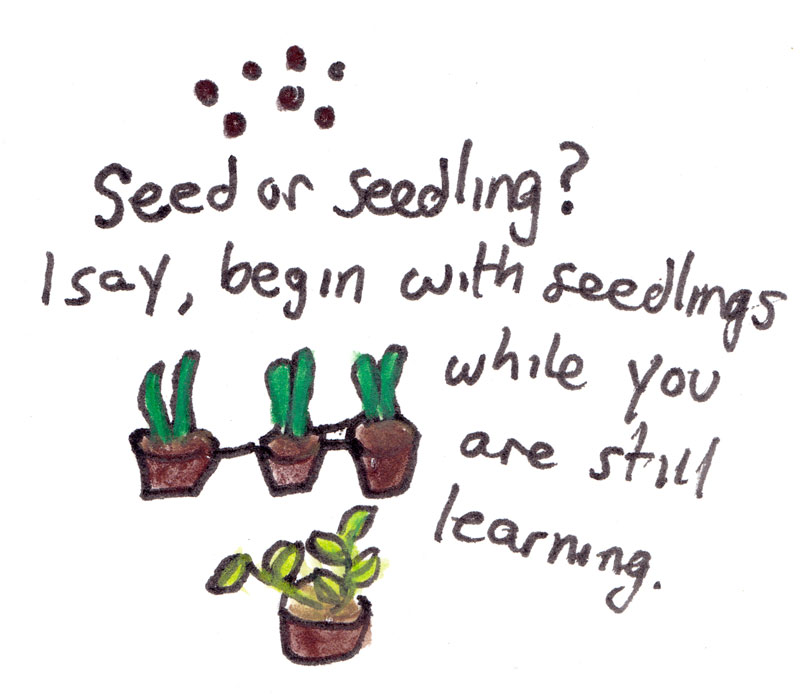
At a later date, I will write a bit more about raising seeds, but for this 101 course I will stick to seedlings as they make life easier.
The frugal option is to grow from seed, but only if your seeds germinate and grow into strong plants. This can be ‘hit-and-miss’ for beginners. There’s nothing frugal about buying a packet of seeds and having them all shrivel and die within a few days or not germinate at all.
Also, I am still learning about raising seeds myself. Watch this space, though! One day… Let’s start with the most accessible form of gardening: potted herbs.
 Ahh, the potted herb garden: it couldn’t be easier!
Keen to try growing your own food but don’t know where to begin?
Growing a simple window box of herbs can be a great way to dip your toe in the water.
Although we have a plot at the community garden, we also have a kitchen garden at home which we grow in pots. It’s a really great way of growing what we need. It really is as easy as falling off a log.
Thanks to our pots, we have an ever-ready supply of bay leaves, kaffir lime, curry leaves, parsley, chili, rosemary, lemon grass… and once you have cooked with fresh picked herbs, there is no going back to the tasteless, expensive bundles at the supermarket.
Not only that, but buying herbs can be incredibly wasteful. They are just the type of perishable items that need to be chucked out after a couple of days in the fridge. Such a waste!
 Most herbs have volatile oils that break down quickly, impacting the flavour from the moment they are picked. The longer the time between harvesting and cooking, the more flavour is lost. The impact really is dramatic. Jamie Oliver is on a mission to get people to grow their own herbs for a good reason.
I wish I could get everyone in the world to grow herbs, I really do. It requires such little effort and the results are so worth it. They are so simple to grow, too. Once they’re potted up, give them a bit of water and they’re good to go
If you don’t cook with herbs much, I bet you will when you grow your own. Fresh herbs are amazing.
No matter what circumstances you are in, you can probably manage a window box of herbs. Once planted, they just need a little bit of water. They don’t require loads of fertiliser or anything – in fact, overfertilise them and they will grow prolifically but lose flavour. A bit of benign neglect does herbs wonders, and that’s a good thing for beginner gardeners.
To be honest, we grow much stronger, hardier and more prolific herbs outside. Even so, a window box is a really frugal addition to a home kitchen. It is also a great gift for foodies as it keeps giving every time they cook with the herbs.
Here is how to grow amazing potted herbs:
 First, find your pots.
The first thing you will need to do is find some pots or pot-like containers to grow herbs in. Herbs don’t require enormous amounts of space to grow, but I generally find that a generous-sized pot will give bigger and hardier plants.
Either buy a suitable pot from a nursery or grow your herbs out of existing containers – a couple of big yoghurt containers with holes punched in the bottom will do the trick, although they won’t look as attractive. Just put them on a plate or something to catch any dirt that might come out of the bottom (keep the holes small to minimise this, obviously).
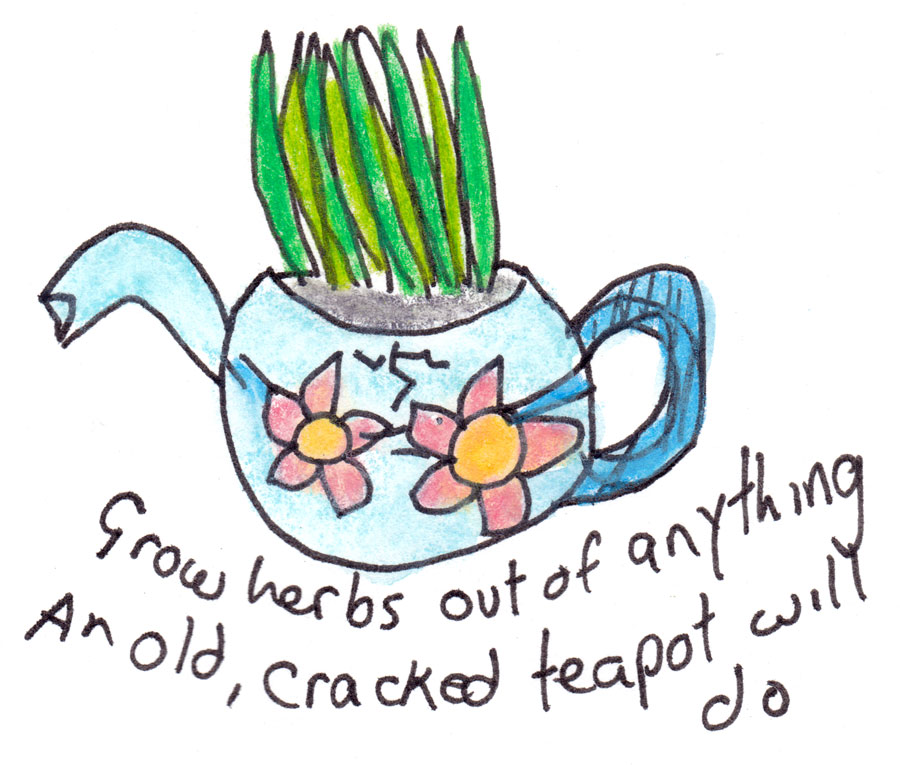
I’ve seen herbs growing out of all kinds of things; teapots, shoes, old wheelbarrows, colanders… In fact, any object that can contain soil is probably suitable for growing in. Not only do they look cute, but they save money and prevent waste.
At this point, you want to buy some potting mix. It is frugal to make your own, but for the beginner gardener it might be quite tricky, as you need to have a few things set up (your own compost, for example).
An important note here about potting mix: please DO NOT try to save money by buying the cheapest one you can find! Some brands of potting are absolute rubbish: they contain fillers, poor-quality ingredients and some of them might even carry diseases.
A poor-quality potting mix will diminish your yields dramatically. There’s nothing frugal about getting terrible, spindly plants that 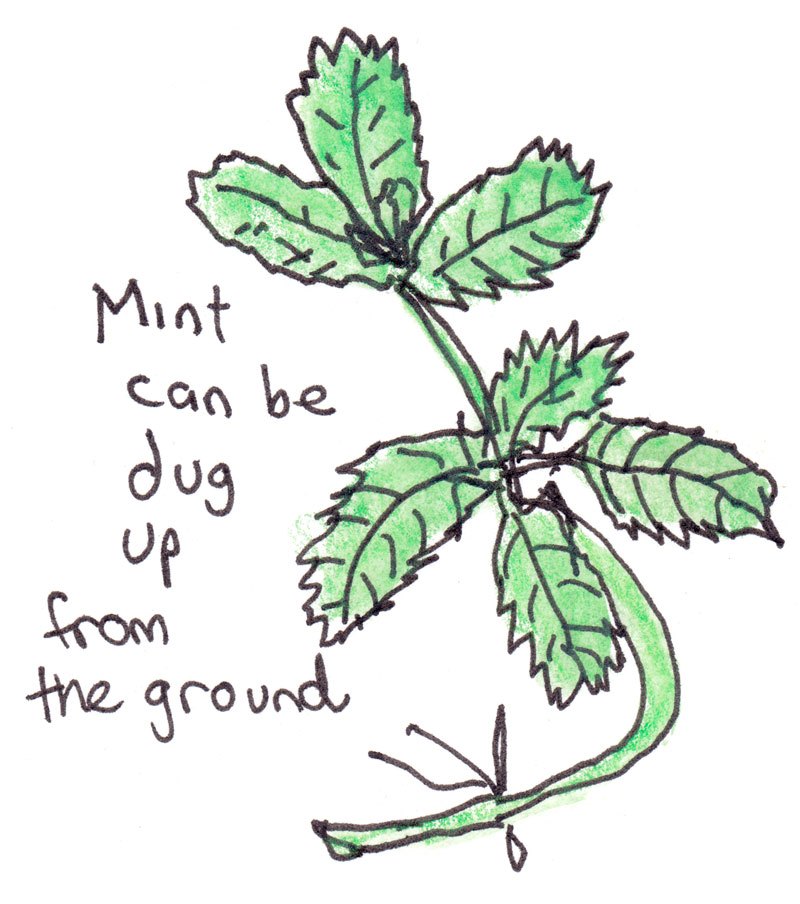 barely withstand a harvest.
Not only that, but if you want to revamp and reuse your potting mix, you will need the best quality you can afford. Buying and recycling potting mix will mean the extra cost will more than pay for itself eventually.
So, invest in a good quality organic potting mix.
Next, gather your herbs. Again, the most frugal way to gather these is by raiding other people’s herb garden. Some herbs, like oregano, mint and thyme spread out and create lots of little plants that you can dig out and replant.
Quite a few of these kinds of herbs are perennial, meaning that once you have them, you can keep them growing indefinitely instead of replacing them every year.
Find a friend who already grows herbs. If she or he is a keen gardener, you will also probably get a free lesson on how to transplant them and nurse them to health.
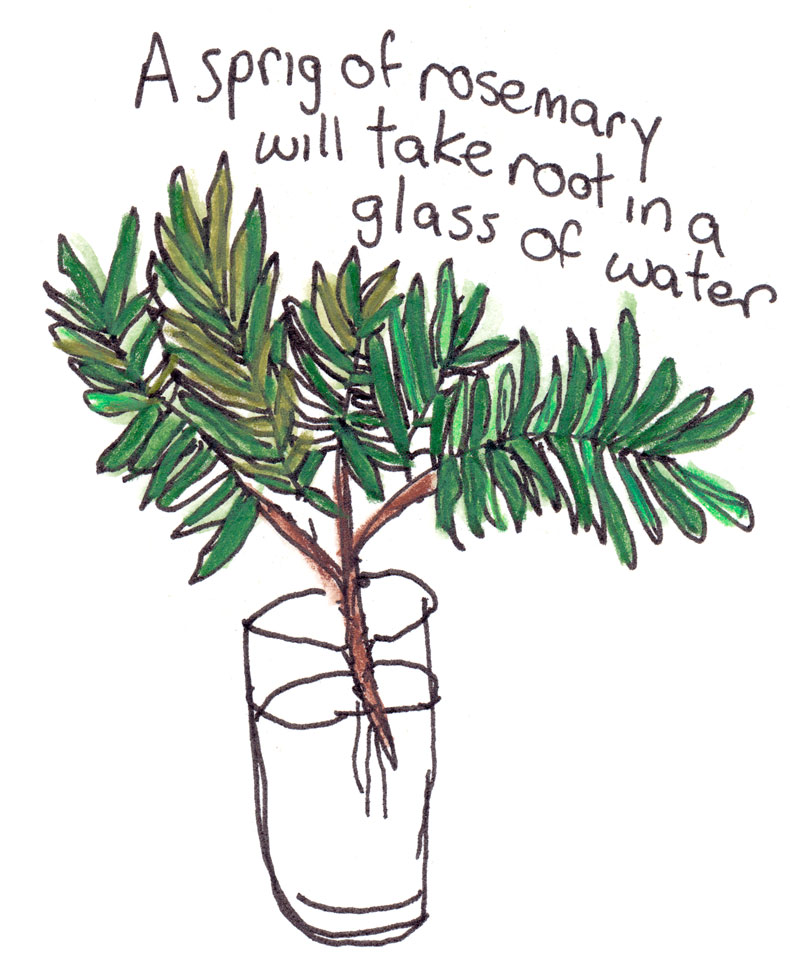
 More woody plants like rosemary can be grown from cuttings. We took a twig of rosemary and put it in a glass of water until it grew roots, then planted that. It grew just fine.
I guess if you know what you’re doing, the next cheapest option is growing from seed. Honestly, though, this is a tricky business for some herbs, although some, (notably parsley) will grow easily.
We’ve left herbs to self-seed in the garden and while they have grown, they have not been as prolific as the ones we bought at the nursery. Also, the seeds seem to die out, so it is a bit ‘hit and miss’. For beginner gardeners, I would say do your research before attempting to grow herbs from seed. It might be more prudent to buy seedlings if it is your first attempt.
 You can also buy some herbs at the supermarket with roots still attached – chuck these in some dirt and they will not die. You can also buy herb seedlings at the supermarket. If they look healthy, they are probably fine, but compare prices to the ones at your nursery.
The next step is potting everything up. I will cover this now. This next section is for planting seedlings in pots and in the garden, as the information is basically the same.
Choosing, planting and caring for seedlings
 So the day has finally arrived: time to get planting! If you have followed my instructions, your pot or bed will be just beautiful.
Time to head to the nursery! Hopefully you will still have your map from before. Take it along. Check out what’s in season in your area online.
If you have a smartphone, download an app like Gardenate that you can whip out when you’re at the nursery.
When choosing seedlings, try to pick the strongest ones. Avoid anything that looks a bit yellowed or shriveled and go for the ones that have healthy green leaves.
Use your commonsense, really. You don’t have to be a botanist or even a rocket scientist to tell if a plant is in good shape or not.
Grab some mulch. You can use things like autumn leaves and seed-free grass clippings as mulch – it is easy to make mulch frugally, but for now, it will probably be an idea to buy some. Lucerne is a great, nutritious mulch if you can get it because it’s also used as a green manure.
 While you’re there, if you haven’t already, pick up a liquid seaweed plant conditioner. This is not a fertiliser, as it contains very little nitrogen, phosphorous or potassium.
Instead, it contains compounds that strengthen plants and make them more resilient during transplanting and helps them grow strong roots and foliage. It will also support flowering and fruiting plants to be stronger and more productive.
Seaweed solution is an investment, but it lasts a long time. I generally halve the quantity recommended on the package at every second application to eke it out even more.
Planting time
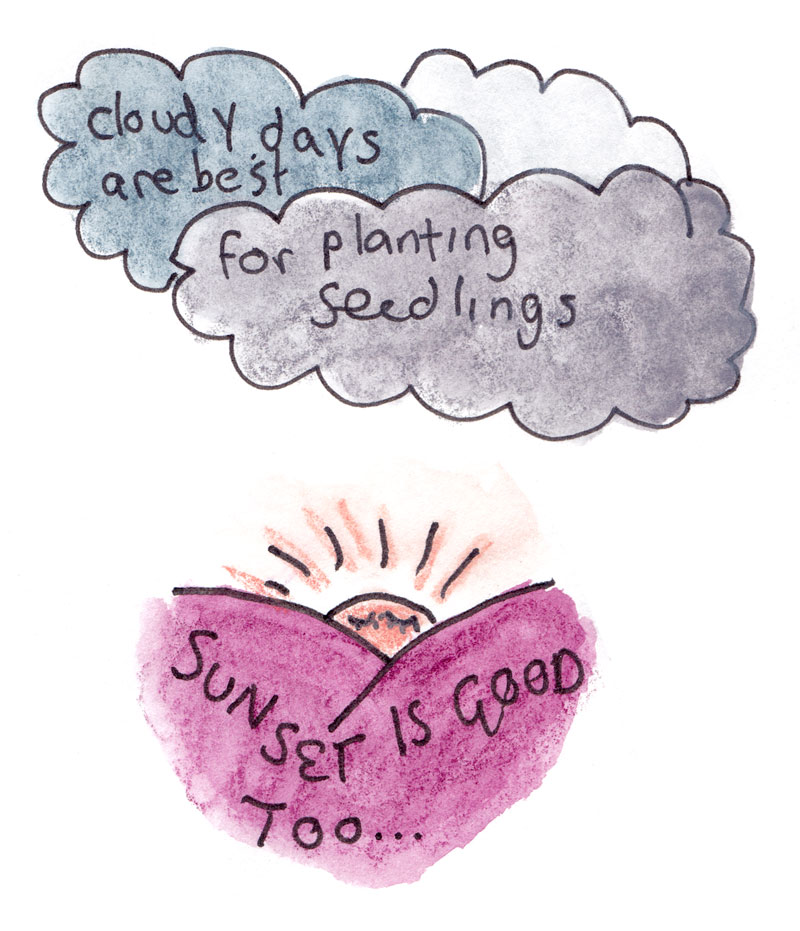
You want to transplant seedlings away from direct sunlight; either on a cloudy day or in the late afternoon. This minimises shock and allows your seedlings a gentle landing. You want to transplant dampened seedlings into moist (not soggy) soil. Gently water the seedlings or submerse their pot in water.
Give your soil a nice dig with a gardening fork. At this point, it is probably a good idea to add a handful of organic slow-release fertiliser pellets. I use one called Organic Extra – it contains a mix of ingredients that support a wide range of plants.
Read the tag before proceeding!
Next, have a look at the tag on your seedling. It should have planting instructions, including how far apart to plant your seedlings.
This is important because if you get it wrong, you’ll either overcrowd your garden (lowering yields) or you will spread your seedlings too far apart and waste space in the garden. You will also find out at this point if you need anything else, like a trellis.
I will talk more about trellises later.
Dig your hole so that your seedling will fit snugly into it. You don’t want it too deep as you want all the leaves on your seedling to be exposed. This can really make a difference for plants like strawberries, which don’t like to be too submerged in soil.
You want to loosen the soil from the pot while keeping it from falling off the plant’s roots.
Lightly squeeze the pot so the potting mix comes away from it, and tip the seedling into your hand as carefully as you can, so as to disturb the roots as little as possible. If the roots look all tight and pressed into the edges of the soil, you can very lightly tease them out with your fingers.
 Next, put them in the hole, making sure all the leaves are exposed.
Watering in
Cover with a little bit of dirt and water. It is important to always water your seedlings in. If you want to give them a bit of a helping hand, water them with a seaweed solution or weak worm wee and water mixed at half strength. This will support them to adjust to their new surroundings.
At this point, you want to also protect your seedlings from the elements a bit and help the soil retain water. It’s time to mulch! Lay the mulch reasonably thickly around the seedlings, leaving a little collar around the seedling itself. You don’t want the mulch actually touching the seedlings.
Next, give everything a water with the hose, putting it on a gentle spray setting and a low pressure so the seedlings don’t get pounded.

So, there you have it: my guide to gardening, from planning to planting. What comes now? Watching, waiting, watering… if the weather is hot, water your seedlings every day, early in the morning or in the early evening. If it is cooler and you are in a cold climate, you might want to water early in the morning, lest you have a cold night and the water turns to frost.
Early morning watering is considered optimal anyway, because the sunlight of the day prevents mildew and mould from forming. Having said that, we water in the evenings and it has never been a problem for us, even in the height of our humid, subtropical summers.
 From here on in, you will be an observer and caretaker.
This is exciting… I tell you, I never have lost the childlike wonder at watching things flower and swell.
Seeing tomatoes ripen and pea pods form is magical, as is watching cabbages turn into cabbages.
I think this is where your intuition helps: water your plants when they look like they need it. This will probably not be every day once they are established, and it’s not an exact science.
I recommend keeping a program of fertiliser happening to keep the garden bountiful and healthy. We throw on a handful of slow release organic pellets every couple of months.
We now water with diluted worm wee once a week (we have enough to cover all our plants).

Every few weeks, I might swap the wee for Triple Boost (a slightly more broad spectrum liquid fertiliser) and Seasol (a soil conditioner that also builds plants’ resistance to pests).
For beginner gardeners, I would recommend alternating a week of Triple Boost and a week of Seasol. We did that before our worms were established and it was fantastic. The bottles are a bit of an investment, but a little goes a long way. You can even half your dilution every couple of weeks to save a bit more.
Your gardening journey will now evolve on its own. If you watch closely, you will soon spot any problems and sort these out. Pop into your nursery or jump online when questions arise.
There is a wealth of information out there. The wondrous thing about gardening is that you will never stop learning as long as you live and garden. This is where I will leave it up to you!
A few parting tips:
 Try not to water in the heat of the day.
- Watch, wait, water and weed. Keeping a regular routine in the garden will prevent things getting out of control and if you do a little bit every few days, your garden will thrive with minimal work.
- Find a neighbour and swap produce. This is a fabulous way to make friends and keep costs down.
- Don’t be afraid to ask questions. Expert gardeners love to show off their knowledge. You will learn much if you ask questions. The cliche is true: there is no such thing as a stupid question!
 Watch Gardening Australia if you are Australian. That show is an amazing source of tips and inspiration.
- Plant things in the proper season.
- Expect a few failures. Even the most experienced gardeners will have dud crops. It happens. Don’t be put off by bad luck. Don’t give up if your first attempt isn’t amazing.
- Grow a variety of things. That way, if unfavourable weather or pests come along, some things will survive. For example, mildew might wipe out your cucumbers but that will not bother you if you have amazing leafy greens, which typically love the rain.
- Don’t skip the liquid fertilisers. Think of it as giving your plants their vitamins. For optimal growth, plants need a steady supply of nutrients. Throwing on some slow release fertiliser pellets can be good too.
- Give your soil some luxury treatments. Between seasons when your plants are reaching the end of their productive lives, pull them out and dig some goodness into your soil: compost, fertilisers and soil conditioners. Test the PH once in a while and plant a crop of green manure (legumes) to build nitrogen stores for your leafy greens. Regular pampering sessions will keep your soil lush and your tummy full.

- Harvest frequently. The more you harvest, the more you will get. Harvest fruits when they look mature. They might not reach the size that you see in the supermarket but good things come in small packages! Plants give a lot of energy to fruit, so by harvesting regularly, you are actually prolonging the life of your plant and possibly your harvest, too.
- Learn about pruning. This is where I am at, so I don’t feel quite ready to teach this yet! There are some wonderful YouTube channels which teach pruning techniques that can dramatically increase yields. I like Praxxus512.
- Find a community. This is my final tip, and it’s a big one. Gardening is a process of lifetime learning, and you want to have experienced gardeners to talk to. Keep up with gardening, and you will also step into their shoes as elders one day. Knowing how to grow food is a torch worth picking up… and passing on.
So, to borrow a phrase from Peter Cundall, “that’s your bloomin’ lot!” Hopefully I have offered a solid foundation that will have you enjoying the fruits of your labour in no time. Get out there, mamas! See you in the garden!