
Time to make the bed! 😉
 We’ve dealt with the planning stage. Now we’re ready for action! There is something I want to say before I say anything else.
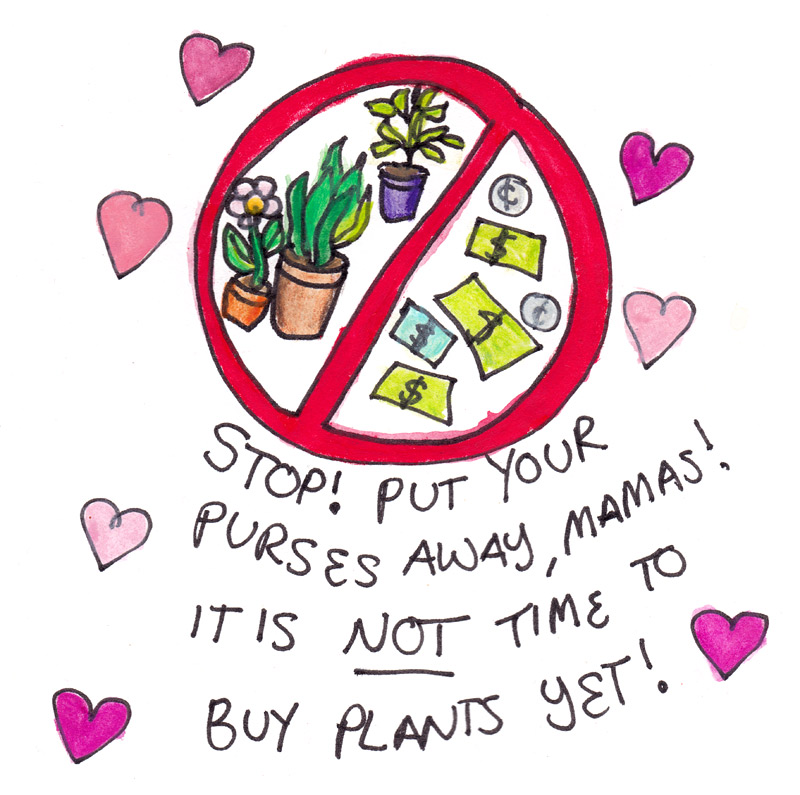
You will notice when you read this that actually purchasing and planting plants is a fair way down on the to-do list.
THIS IS IMPORTANT.
I say this because the number one mistake beginner gardeners make is to RUSH with the planting. It’s tempting, but it’s not a good plan.
It’s not just me who says this, by the way. I’ve heard this time and time again from experienced gardeners, but to save myself a bit of time, I will use Wiki as evidence.
In fact, I can further back up my claims with my own repeated, failed attempts to grow plants this way…Oh dear, I’ve learned this one the hard way, I’m afraid.
My own past over-enthusiasm and impatience has taught me some harsh lessons in the form of stunted, weak plants that were little more than easy targets for hungry bugs.
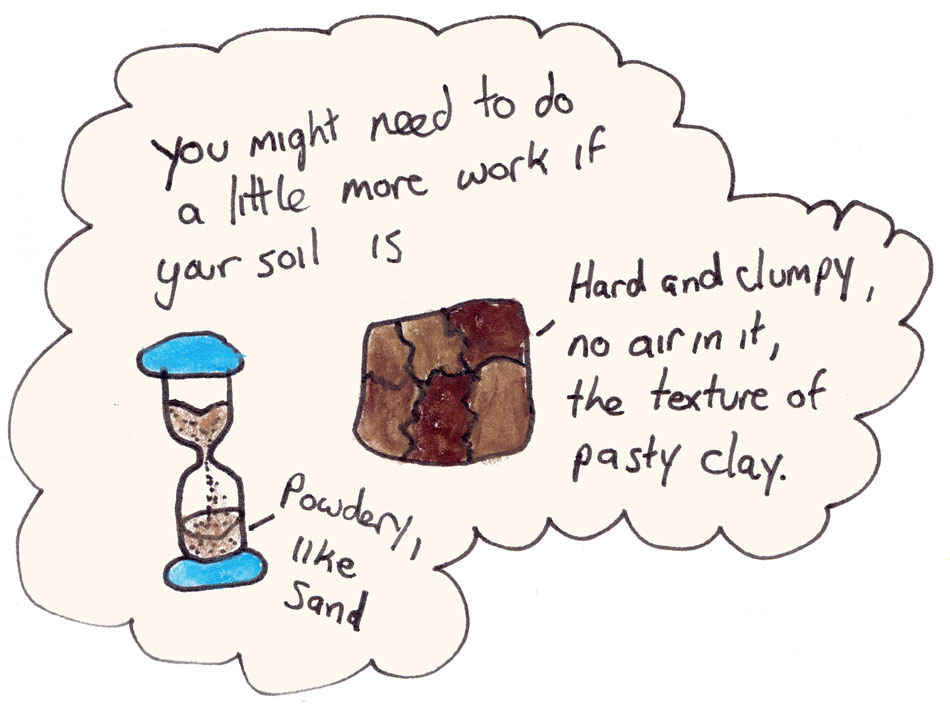
If you really want to have an amazing garden you need to prepare the soil and chances are, you will need to wait. Not necessarily two years, as the Wiki article suggests, but long enough for the soil to incorporate anything you’ve added.
It is also true for organic gardeners that the longer you dig a garden patch, the better your crops will become. Give your soil plenty of love and you will literally reap the rewards.
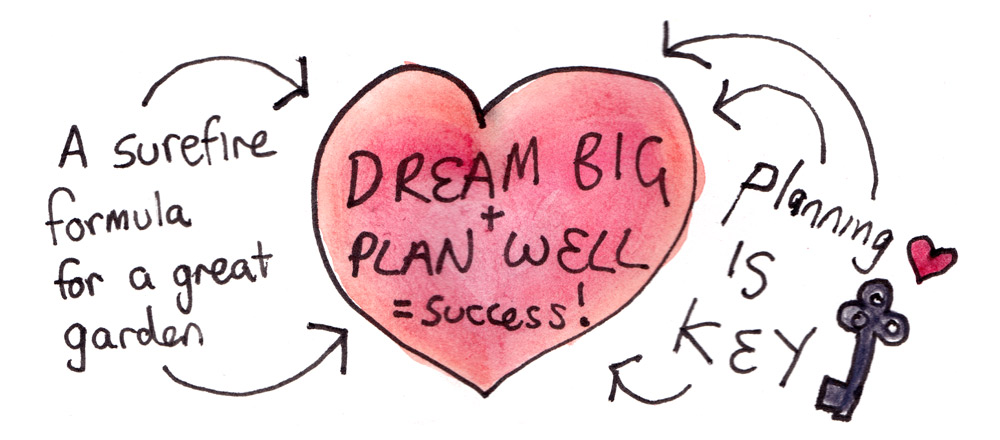
Now I’ve well and truly made that point, it’s time to get started! I am going with a common scenario: you are totally new to gardening and have nothing. What next? Read on.
Step 1.
 Getting equipment together.
So, you’ve read my piece of high literature from last week and you’re convinced; you are going to give this gardening lark a go. You’ve got your patch (or pot) of dirt sorted out.
What next? You need to get everything else together.
How can you do it frugally? There are ways and means, but also pitfalls that I must warn you about.
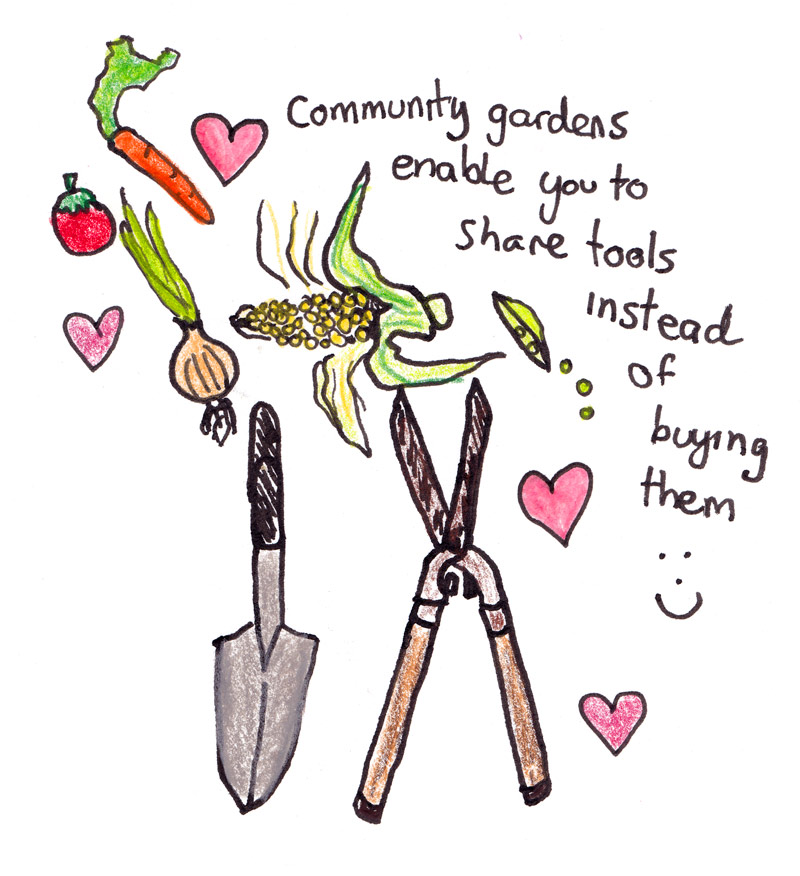
First, I will give yet another plug for community gardens: if you join one, you will avoid many costs.
You might not have to buy anything if you don’t set up your own plot and only exchange labour for communal vegetables. Then, after you have paid your annual membership fee, you will get vegetables for free every time you attend a working bee.
If you decide to rent an individual plot at a community garden you won’t need to buy tools except a few personal items; a set of gardening gloves and a watering can. This can cut costs (the rental for a plot is generally a small annual fee). Having said that, I will now explain what you need to start a home garden.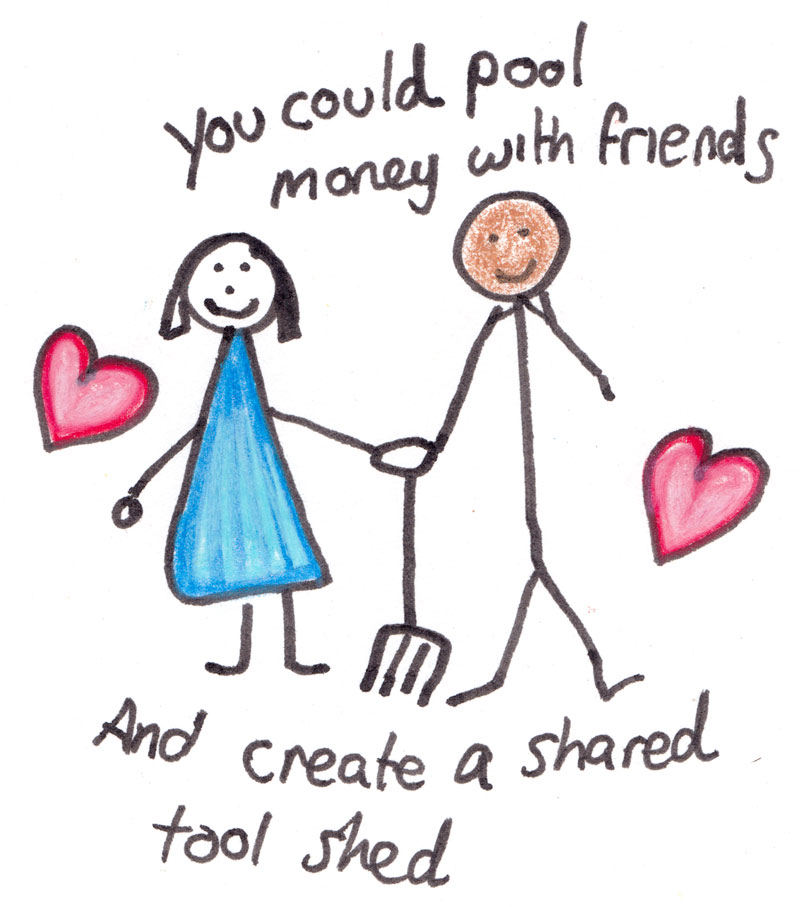
To get a garden going, you need
- Tools
- A pH test
- Fertilisers and soil conditioners and (eventually)
- Plants
Gathering equipment, frugal style
As explained above, if you decide to take out membership at a community garden, you won’t have to worry about tools.
For the home gardener, you will need to procure a few. The cheapest way, of course, is to borrow tools.
There is probably a gardener living close by who will let you use their tools if you look after them. This is probably not a bad idea if you don’t know how committed you are to gardening. There is no point in investing in tools if you end up losing interest in gardening.
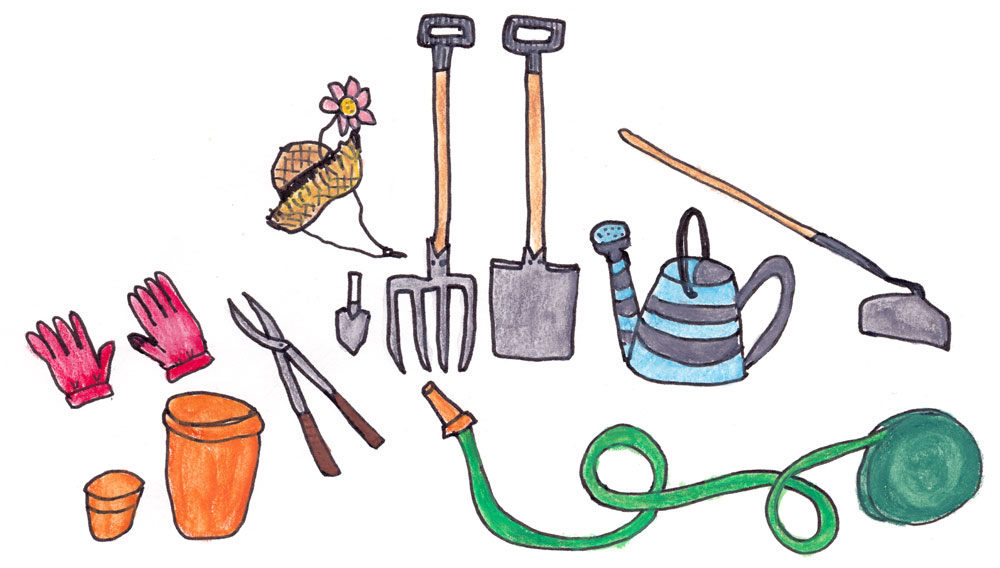 If you’re going to dig a decent patch in the backyard, a basic toolkit for a beginner gardener should include:
- A spade;
- A gardening fork;
- A trowel;
- Gardening gloves;
- A watering can (you can use this for liquid fertiliser);
- If possible, a compost bin and/or worm farm (more about this next week); and
- If you are planning to dig out a new bed and your soil is hard, you might need a mattock to break everything up and loosen the soil. This is definitely one tool that you can get away with borrowing, as you probably won’t be needing it much unless you let your garden get overgrown
If you do choose to buy tools, I strongly advise you buy quality, second hand tools.
You might get lucky online, at Gumtree or Ebay, if someone local is selling what you need.
 Failing this, garage sales can be a great place to pick things up, particularly if the person is moving overseas or it is a Church sale. I always keep my eyes peeled for deceased estates. This might sound morbid, but I see it this way: if the deceased was a keen gardener then it is a fitting legacy for someone in the land of the living to take their tools and give them a new lease of life.
Some flea markets and farmers’ markets have stallholders who specialise in tools. My former home town had a car boot market with a second hand tool stall. The person running it had a passion for salvaging and selling quality pre-loved tools.
If buying second hand tools is not an option, the next option is to buy new ones.
I have found that in general, the cheapest place to get gardening supplies is at farm supply shops or hardware stores.
They tend to be cheaper than nurseries in my experience. Shop around. Jump online and compare prices! Everything is at our fingertips these days.
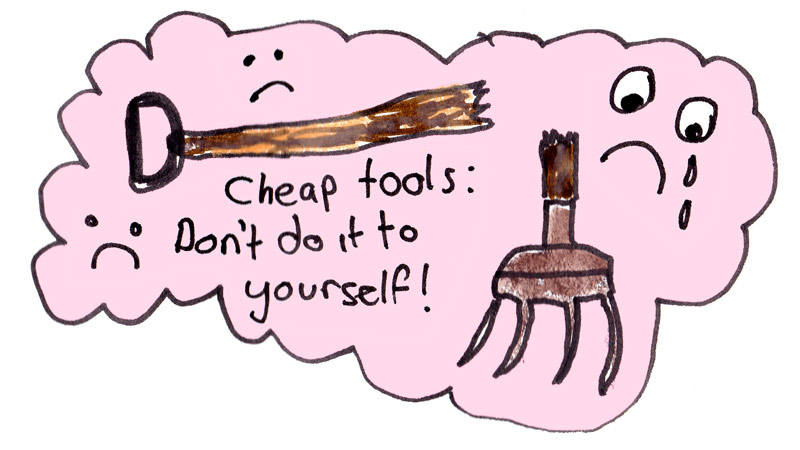
 A word of advice about tools: please DON’T buy the cheapest tools you can find!
Gardening tools are a long term investment. Cheap, shoddily made tools are a false economy.
You don’t want to have to replace them. Your tools will be repeatedly banged about, lifting heavy clods of soil and so on. They need to be as hard wearing as possible. Buy decent ones and you will have them for your whole life.
You are not saving money if you have to replace tools. If you want to be frugal, keep looking out for solid, second hand tools.
Another option is to find others who will use your tools and pool money so that you can all share them. If you’re really skint, this might be a better option than sacrificing on quality.
When you compare tools in the shop, look at how they are put together, picturing all the while that you will be giving them a real beating.
For example, a gardening fork should be securely attached to its handle, all parts should be solid.
Hoses are another thing you don’t want to skimp on. There is nothing more vexing than a hose that kinks up all the time or a fitting that leaks or breaks and comes loose after a couple of uses. You want a hose fitting that has a nice spray setting on it so you can water your plants efficiently and give your seedlings a drink without blasting them. Again, speak to your friendly nursery staff.
Once you have your tools sorted, they should last you for years. If they are really good, you might even pass them down to the kids one day. Who knows?
While you buying tools, you will also want to buy…
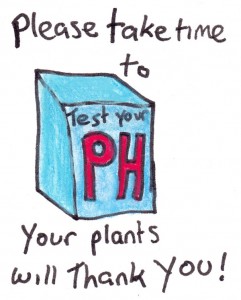 A pH test
A pH test gauges the acidity of the soil you are planning to garden in. It’s a quick test that can make a huge difference to the success of your garden.
This is a step that many people skip to their own peril. The pH of soil can have a huge impact on how well a plant is able to absorb nutrients and protect itself from disease. You don’t want to pour hours of love and nourishment into a garden only to have it be for nothing because the pH is wrong.
I have seen dramatic evidence of the benefits of PH testing with my own eyes. In our community garden, you can pick the plot holders who take the time to test the PH of their soil because their gardens are so much more productive than those who don’t.
We have extremely alkaline soil in one part of our home garden because someone did a lot of concreting there and there are a lot of plants that either grow really stunted or won’t grow at all. More about this in my section on preparing your garden bed. They are not expensive, but they are worth the money if they increase yields in your garden.
At this point, I recommend that you leave the purchase of fertilisers until after you have tested the pH of your soil. This will make it easier to keep any notes you might make in one spot.
 Time to examine your soil. Here’s how:
Take the test in multiple parts of your garden bed and record your results to take in to your local nursery. Remember the little map I told you to draw up? Write the readings on that. While you’re there, take a good look at your soil.
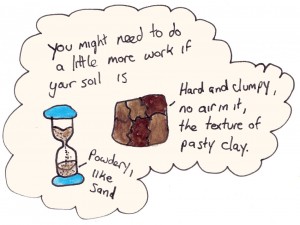
Grab a handful. Is it heavy and gooey like *ahem* mud cake, or does it crumble easily in your hand? Perhaps it slips through like sand. The more accurately you can describe your soil to the people at the nursery, the better they will be able to advise you on what it might need.
Fertilisers and soil conditioners
 This is one area of frugal gardening that gets cheaper with time. In fact, if you are organised, it can cost next to nothing. Also, your soil will get better every year if you consistently add things to improve it, (pending bad weather or pests) your yields will also increase.
You can make your own fertilisers very cheaply out of household scraps and cheap bags of manure, but these take a while and so you won’t have them ready when you first start out (unless you are prepared to wait a long time before actually planting your garden).
I will offer some frugal recipes to improve your soil next week.
Chances are, when you are starting from scratch, you will need to buy fertilisers. This is where things can get very confusing. Never fear! It’s not as bad as you think.
A quick lesson about fertiliser
Every bag of fertiliser at a nursery will show levels of nitrogen, phosphorous and potassium (often referred to as N, P and K). Each of these has different functions and supports your veggies in different ways.
- Nitrogen (N) is good for the green part of plants – the leaves. Using it will give you a spinach crop that will make Popeye cry with joy.
- Potassium (K) is good for flowers and fruits, so your tomatoes and cucumbers like it. It’s a bit of an all-rounder because it also supports the growth of nice, strong plants.
- Phosphorus (P) promotes healthy root systems and this in turn keeps the rest of the plant healthy and strong. If you can remember those three things, then it will really come in handy when you are checking out what’s available.
Please don’t be daunted, You don’t need a degree in chemistry to grow good veggies. Ask your local nursery or farm supplies staff to tell you which will be the optimal one for your garden.
They will advise you, depending on which things you want to grow. There are a few really brilliant slow-release fertilisers that will make just about everything grow well. See what they say!
Later on, when you go to observe your plants growing, you can add whichever one is lacking. So, if you have abundant leaves but not much fruit, you can grab some fertiliser with a higher level of the phosphorous (P). Or, if your plants are just looking a little weak and bugs are picking on them, it might be time to add a fertiliser with a high proportion of potassium (K).
Trust me: when you are actually gardening, this will all be much easier to get your head around. If in doubt, just chat to someone about what your plant is doing and see what they say. It’s a bit of a knack, but it doesn’t take too much brain power to master it – just some powers of observation and a listening ear.
Also, if you are interested in organic gardening (my preference), look for the organic symbol. You probably know this, but in Australia, it should look like this:

Hopefully, you will have followed my advice in part one on how to plan your garden well. If you have, you can show the nursery staff your cute little map and ask them for advice.
Tell them the pH and texture of your soil. The better you can describe your soil, the more they will help you find the things it needs to support healthy vegetables. This is an important step and not one you want to miss.
Some soil needs more work and time to become suitable for planting.
If it is hard or dense and thick like clay, it will need support to loosen up. If your soil is really sandy, it will not hold water well and probably won’t have many nutrients. Either way, your veggies will not grow well if you do not correct the problems. They can usually be corrected, though, if you are patient.
Take a pen and scribble down everything they tell you, directly on the map… it will help you to remember what you are doing when you go to prepare the soil for planting.
If the nursery staff are decent folk, they will know not to try and sell you bags and bags of products you don’t need. If in doubt, go home and research what they have told you to see if there’s a cheaper way of going about it.
If you have taken the community garden path, find an experienced elder who already has an amazing garden and show them your map. Ask their advice. Take a pen and extra paper though, because they tend to have a lot to say!
Time to prepare the soil
 Now, we reach the point where it is time to get the soil ready for planting. Notice I still haven’t mentioned buying plants yet. All in good time!
The way you prepare the soil depends on what you intend to plant. It also depends on the soil itself.
If you have followed my earlier instructions, you will have a map of what you are planting and it is now covered in scrawl. There are quite a few products on the market that will support your soil to do this.
It is a bit beyond the scope of a gardening 101 course to go into the intricacies of how to prepare soil, as your garden will have unique needs.
However, I have given you the basics so you should be able to go into your nursery, give a detailed description of your soil and get the advice you need.
 The best thing for sandy soil is compost. If you have sandy soil it is really a good idea to have a compost bin. The other thing you will probably need is something to help the soil retain water.
Digging compost and water retaining agents will improve your sandy soil. Depending on your circumstances, the process of digging and incorporating these ingredients should not take too long, but they will need to be done repeatedly to keep the soil in good shape.
If your soil is hard and lumpy or the texture of clay, then you will probably need to buy a bag of gypsum. This breaks down the clay and improves the soil. It might take several applications of gypsum, dug through with a fork, before the soil will be ready.
Those lucky enough to have reasonable soil already can go ahead and make other preparations. Hopefully, you have everything written down on your map so you can just follow the instructions.
You should have a timeline, also, to tell you how long a product needs to sit in or on the soil before it will be ready for plants.
Some products, like lime need a little bit of time before they work their magic on the soil. Follow your timeline, digging in your manures, and other products according to what you have written down.
In the long-term, you will not need to buy as many products for your garden, especially if you make up some of the recipes I will provide in my next blog.
 Something I will recommend is green manure.
This is a plant that actually enriches the soil, adding nutrients and organic matter to the soil.
There are a range of green manures out there. Legumes will add nitrogen to the soil, and at the end, the green manure is dug in to add organic matter. It is really great for gardens, especially if you plan to grow a lot of greens.
We grab a bag of dried peas from the supermarket (whole peas – split will not sprout) and scatter them over the garden. Once they reach about 30cm long, we dig them in. Green manure can typically be planted in the early stages when you first prepare your soil.
Once you have done your preparations, it’s a waiting game. If you’re not growing green manure, I recommend throwing some mulch down as it generally is not a good idea to leave soil lying fallow for too long.
So now, to planting.
We’re up to the fun part, mamas! Tune into my next blog for more! 🙂